

How to use Mouse & Keyboard Converter TNS-19077
2020-07-18
Mouse & Keyboard Converter TNS-19077 can convert keyboard and mouse signals into handle signals to operate the game, providing players with better game control methods and enhancing the fun of the game. It supports not only Switch platform but also multiple platforms such as PS4, Xbox One, PS3 and Xbox360.
1. Turn on the Switch console, click [Settings],[Handle and Sensor], select [Wired Connection f Pro Handle] and set to [On].
2. Plug the Switch console into the Switch HDMI video base which is with power supply and connected to monitor (TV/Computer).
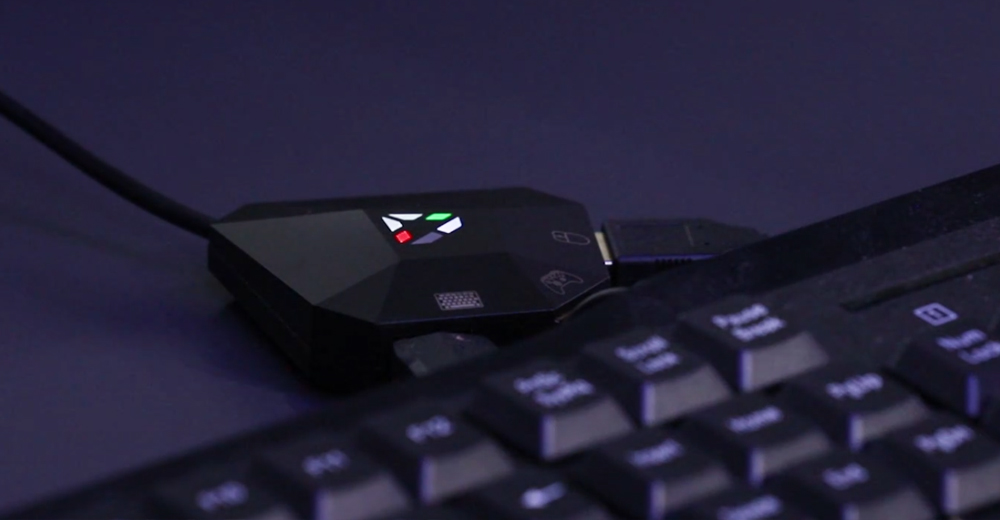
3. Plug the USB cable of the Mouse & Keyboard Converter into the USB interface on the Switch HDMI video base (the one on the back) and “white light” indicates a successful connection; connect the wired game handle to USB interface 2 and “white light” indicates a successful connection; connect the keyboard and mouse to USB interface 1 or USB interface 3 respectively and “red light” indicates successful connection of the keyboard while “green light” indicates successful connection of the mouse.When all these steps are completed, players can use the keyboard and mouse to play games with the default setting of the keys (for details, please refer to the sketch of the corresponding key function of Switch handle to mouse/keyboard). Customized key function should be set by players in advance.

Step 2: Press F11 and F12 simultaneously to enter the setting mode with “blue light” indicating a successful operation.
Step 3: Hold the function key or push the 3D joystick of the gamepad (support only up, down, left and right). Meanwhile, press the key to be set on the keyboard and mouse (one key for one function).
Step 4: Release the key on the keyboard and then the key on the gamepad. Step 5: Press F11 and F12 simultaneously to exit the setting mode. When the “blue light” is off, it indicates a successful setting and exit of the setting mode.
【How to return to the default settings】
[Return to storage region 1] Default setting: Press F12+F10+F1 simultaneously and hold for 3 seconds.[Return to storage region 2] Default setting: Press F12+F10+F2 simultaneously and hold for 3 seconds.
[Return to storage region 1 and 2] Default setting: Press F12+F10+F9 simultaneously and hold for 3 seconds.
【Note】
Do not enter upgrade mode (Press F12+F10+ESC simultaneously and hold for 3 seconds with “white light” indicating successful entering into upgrade mode) during the use of the product. Do not press F12+F10+ESC simultaneously, or it would be impossible to exit the upgrade mode and thus influence its use.